A workspace is the top-level container in Schemity. It groups one or more database connections (each connection is one diagram) and stores them as plain JSON on disk. Schemity creates a default workspace for you; you add more to keep separate projects or clients apart.
Opening the new workspace form
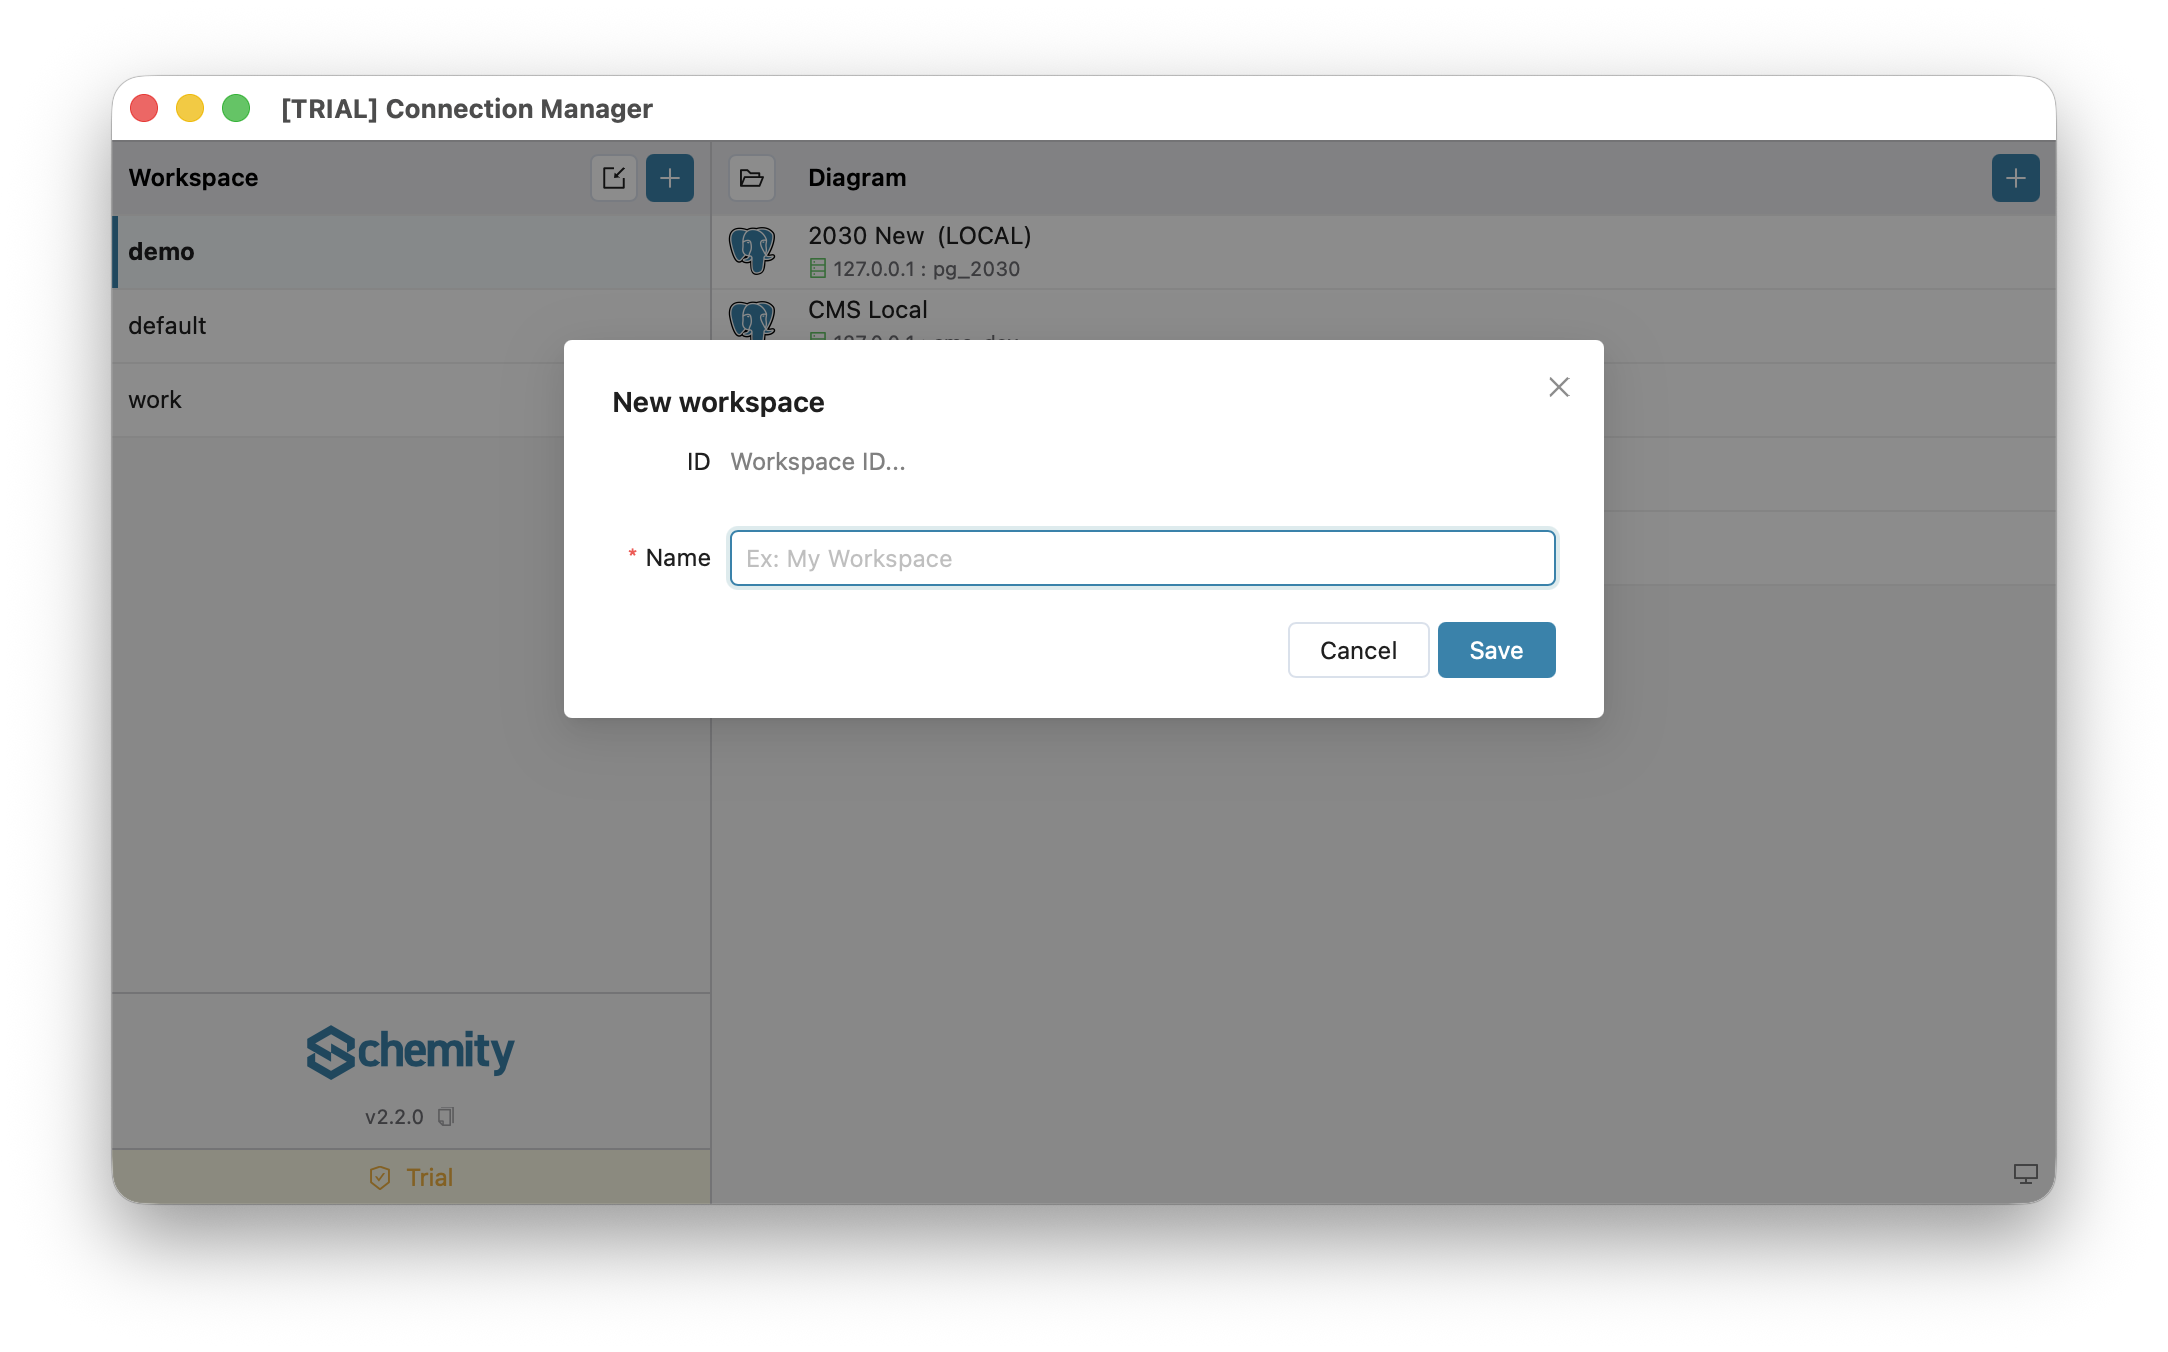
In the left sidebar of the workspace screen, choose New workspace. The form is deliberately small.
Fields in the form
- ID - read-only. Schemity derives it automatically from the name (for example
My Workspacebecomesmy_workspace) and uses it as the folder name on disk. - Name - the only field you fill in. A free-text label such as
Billing serviceorAcme client. It must be unique.
That is the entire form. There is no storage-location picker and no database-engine field - the database engine is chosen later, per connection, not per workspace.
Where it is stored
A new local workspace is created under your home folder at ~/schemity/<id>/. Inside, Schemity writes a small meta.json plus one JSON file per connection. Everything is human-readable text that you own.
Keeping a workspace in a Git repository
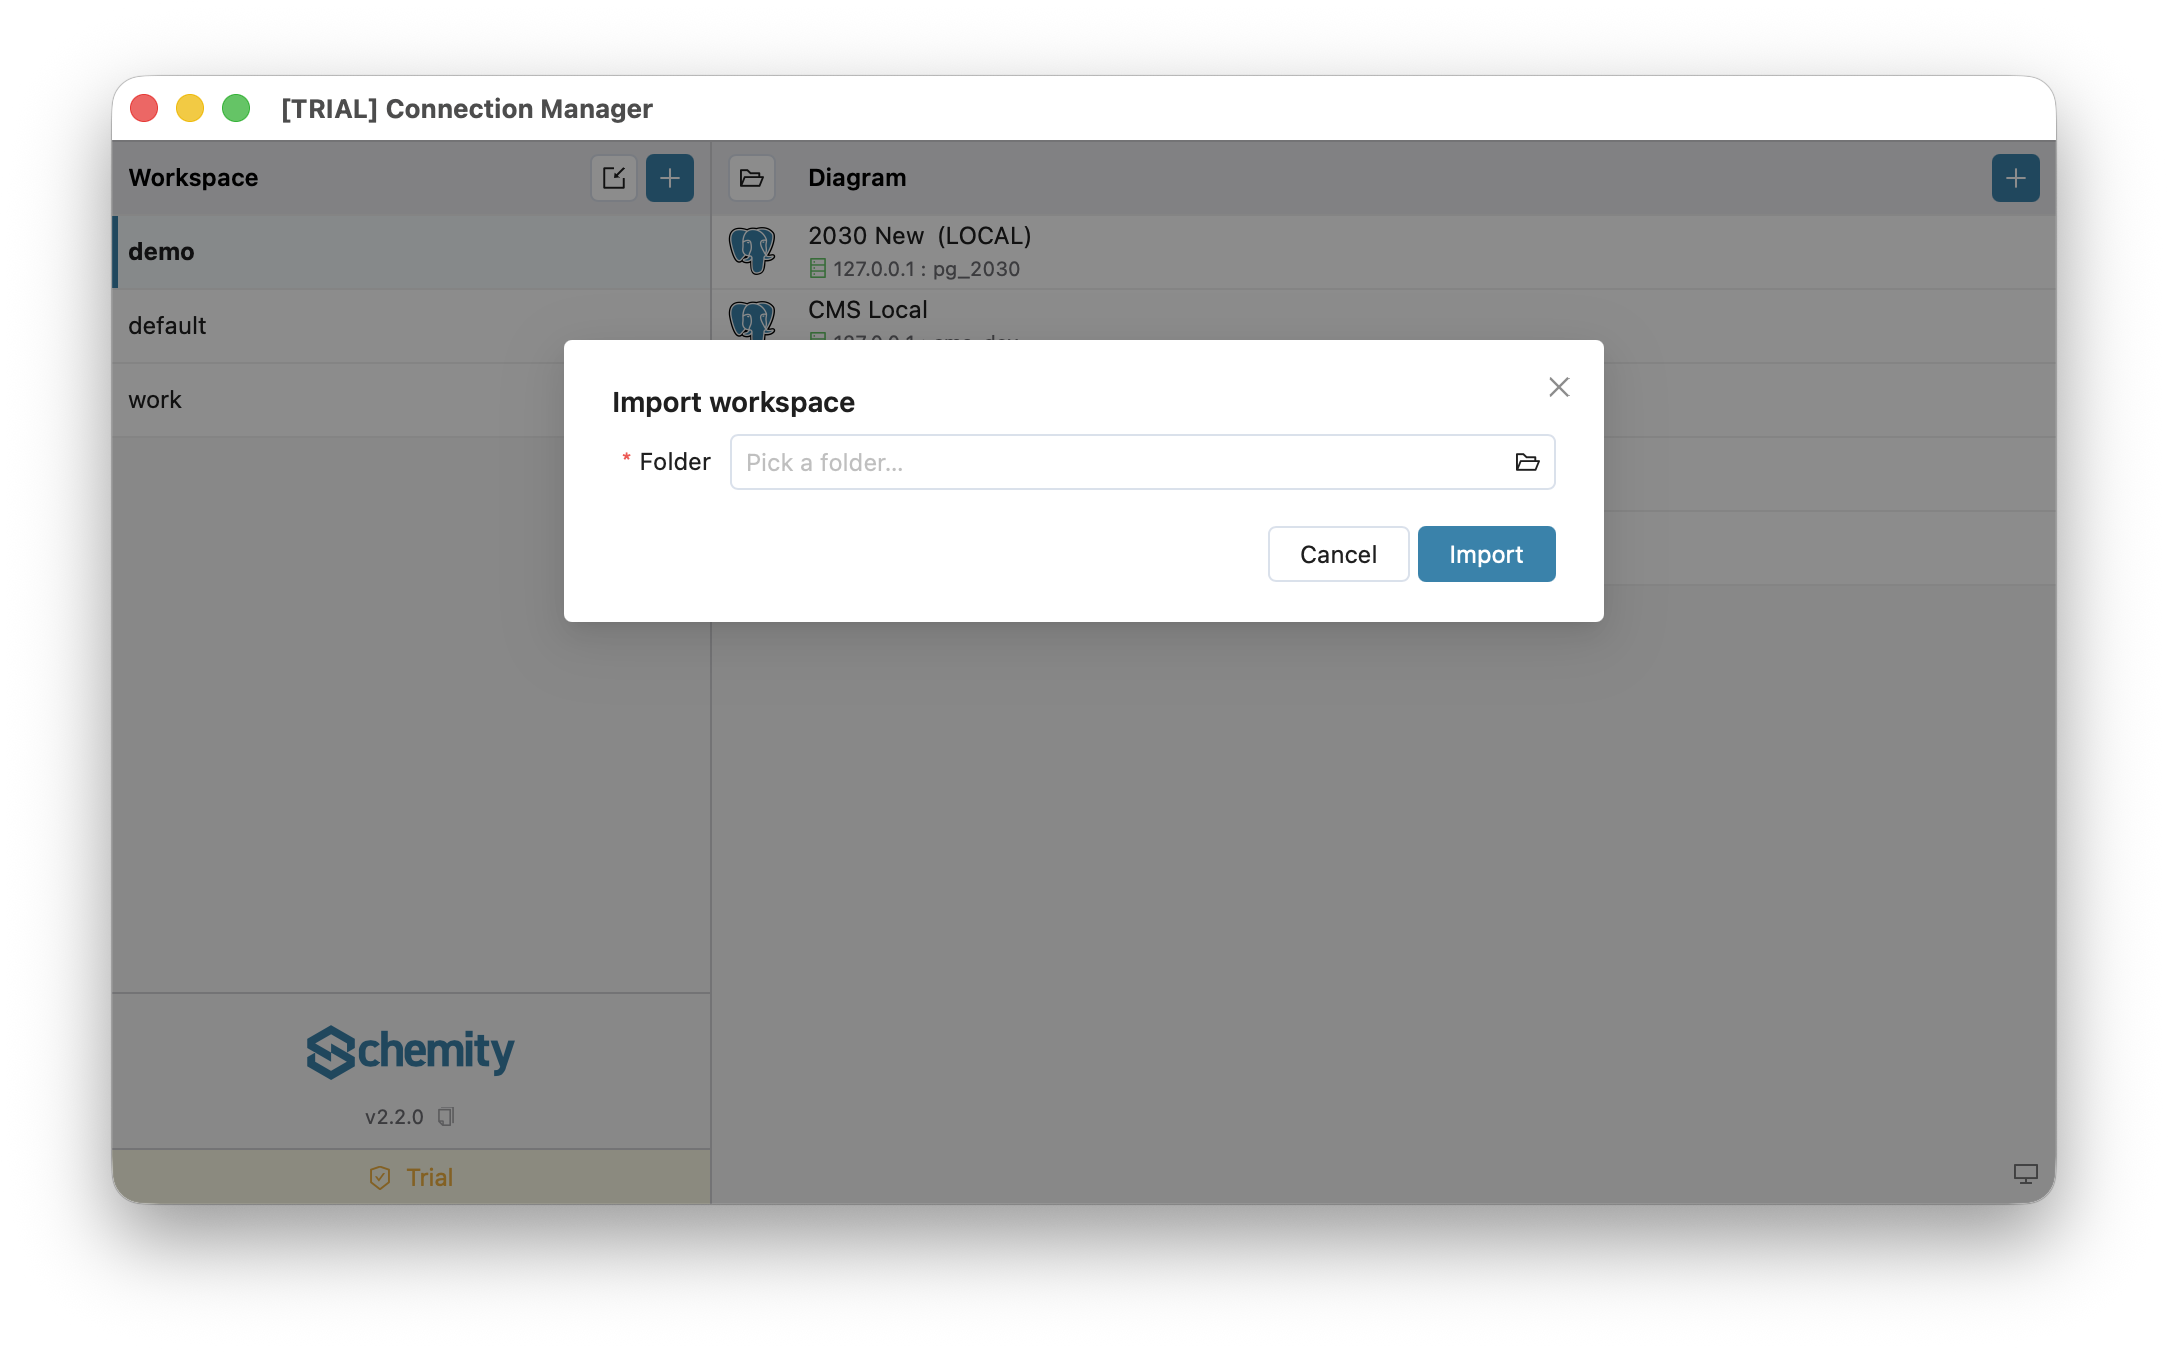
If you want a workspace to live inside a code repository (so the diagram is versioned with the code), use Import workspace instead of New workspace - it lets you point at any folder, such as docs/erd/ in your repo. See Version Control in Git for that workflow.
Tips
- Use one workspace per project, service, or client to keep things tidy.
- Multiple workspaces and importing workspaces are licensed desktop features; the free version uses the single
defaultworkspace.
Next
Add a database connection in Connections Overview, or open the seeded Sample Blog Diagram and start exploring the ERD Canvas.